Home made Granola

For the first time ( but very, very probably not the last!) I made my own granola.

School started again this week.  And on Sunday I tried to prepare  myself for our hurried morning routines and quick, quick breakfasts. Let’s make things a bit easier by at least having a tasty (but quick… ) breakfast to look forward to.

So, on Sunday evening I decided to make a nice, big jar of granola. A treat, on those busy mornings! I choose to use only ingredients I already had in my kitchen. I guess the good thing about granola is you can toss in whatever you like and it still tastes good…most of the time….

granola 1

I used:

  • 300 gr. oatmeal
  • 250 gr. mixed nuts ( hazelnut, pecan and walnut), chopped
  • a handfull of flaxseed
  • 3 spoons of coconut oil
  • 4 spoons of coconutblossom sugar
  • 4 spoons of agave syrup
  • 2 spoons of crunchy peanut butter
  • a handfull of dried cranberries, chopped
  • 2 spoons of cocoa nibs
  • 3 spoons of grated coconut

granola 2

And then:

Mix the oatmeal, nuts and flaxseed in a bowl.

In a large pan, mix the coconut oil, sugar, syrup and peanutbutter and stir on low heat for about 5 minutes.

Add the oatmeal mixture and stirr well.

Spread out on a baking tray and bake in the oven for about 45-50 minutes at 120 degrees Celsius. Stirr every 10-15 minutes.

granola 3

Take the tray out of the oven and add cranberries, coconut and cocoa nibs. Mix well.

Allow to cool down and store in an airtight container.

This should be enough for the first few breakfasts of the new schoolyear!

granola 4

This was an experiment that turned out surprisingly tasty. Have you ever made your own granola, and what’s your favorite recipe? Please share!

Chocolate covered dates

This sunday the kids did nothing but R.E.L.A.X. And they deserved it, I should say. After dancing three performances in a row yesterday, a sold-out theatre for each show, they were quite entitled to a day of watching series, playing with their mother’s make up, braiding each other’s hair and some crafting.

I’m not so good at relaxing though, so I filled my day with chores in and around the house, a good run, and some kitchen stuff.

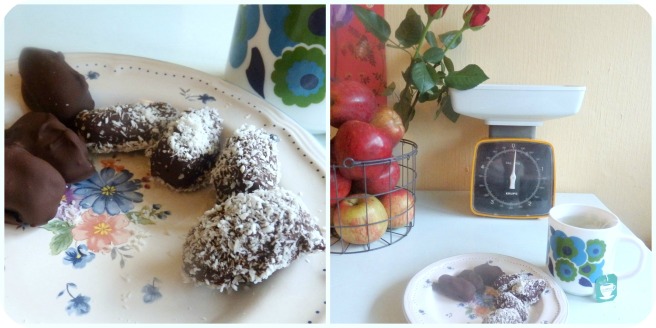
Recently I was introduced to the oh so tasty phenomenon of chocolate covered dates. Have you had them yet? when I stumbled upon a huge packet of dates at the supermarket ( Ramadan, thank you!), I decided that today would be a great day to try and make some myself.

chocolate dates 1

For 16 chocolate covered dates, I used:

16 dates (really?…yes, and seedless, you might want to mind your teeth when making these)

90 grams of pure chocolate, melted

a bit of ground coconut

a bowl, a plate, a spoon and two forks.

And this is how you make them:

Melt your chocolate, au bain marie or in the microwave (in which case; check every 30 seconds or so, and stirr. You want your chocolate melted, not burned!)

Place a bit of coconut on a plate, and spread around.

Add your dates to the melted chocolate, stirr, and take ‘m out with your spoon, allow the excess chocolate to drip back into the bowl, and carefully place them onto the ground coconut on your plate. Gently swirl the plate or use some extra ground coconut to cover the top of the dates. If you like roling your dates around the plate, forks are very useful.

chocolatedates

You can ofcourse skip the coconut part and just cover the dates in chocolate only.

Place your plate in the fridge, eat the remainder of chocolate from the bowl, wash up, make some tea. Take your plate from the fridge, eat and enjoy.

chocolatecoconutdates